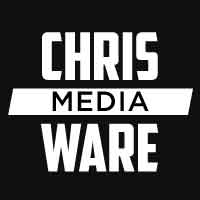
Working with an Easyrig has given me the freedom to move around the set while working as a hand-held camera operator. Although it’s not the same look as a Steadicam, Movi, or DJI Ronin gimbal, the ease of use is incredibly high.
There are no electronics, applications, balancing, batteries, sleds or spring loaded arms. Just a simple vest, arm and cord that is attached to a shock. The shock is inside the arm, located on the lower portion on the rear of the vest. It helps to suspend the load based on where you want to have your camera. You simply push the camera down, or lift it up, and the camera stays in place provided the weight of your camera rig is within the range of the shock. You can easily change out the shock for a new shock that can support more or less of a pay-load.
This tool, also known as a stinger, has a specific look and in my opinion works well with episodic filming. I have also seen the Easyrig used in commercial settings, film and events. A look of fast quick moments, or slight continuous movements can be achieved using this tool.
The majority of time I have used it for filming a reality/doc based food TV show called Feed Me TV for Newsday. It has helped me excel in the process of gathering content while operating. Working in a super small group, we don’t have the time for dolly moves, rails and jibs everyday. I need to be able to move quickly, get wide story based A-roll content, switch lenses, then film our B-roll cut-a-ways. All while on my feet and moving around the set in a quick fluid manor.
It essentially allows you to suspend your camera in front of you. Taking weight off your arms, stabilizing the camera and removing any twisting movements. You can tilt and pan the camera, but the clockwise and counter clockwise movements are eliminated.
The Easyrig comes with a spring loaded clamp on the end of the cord. You can attach this clamp to the top handle of your camera. The problem I found is that the clamp can slip on the handle, and attaching it requires opening a lever while holding the weight of the camera with one hand. Also, when you pan left and right, the cord twists and can build up pressure. A small about of pressure, but it’s still there.
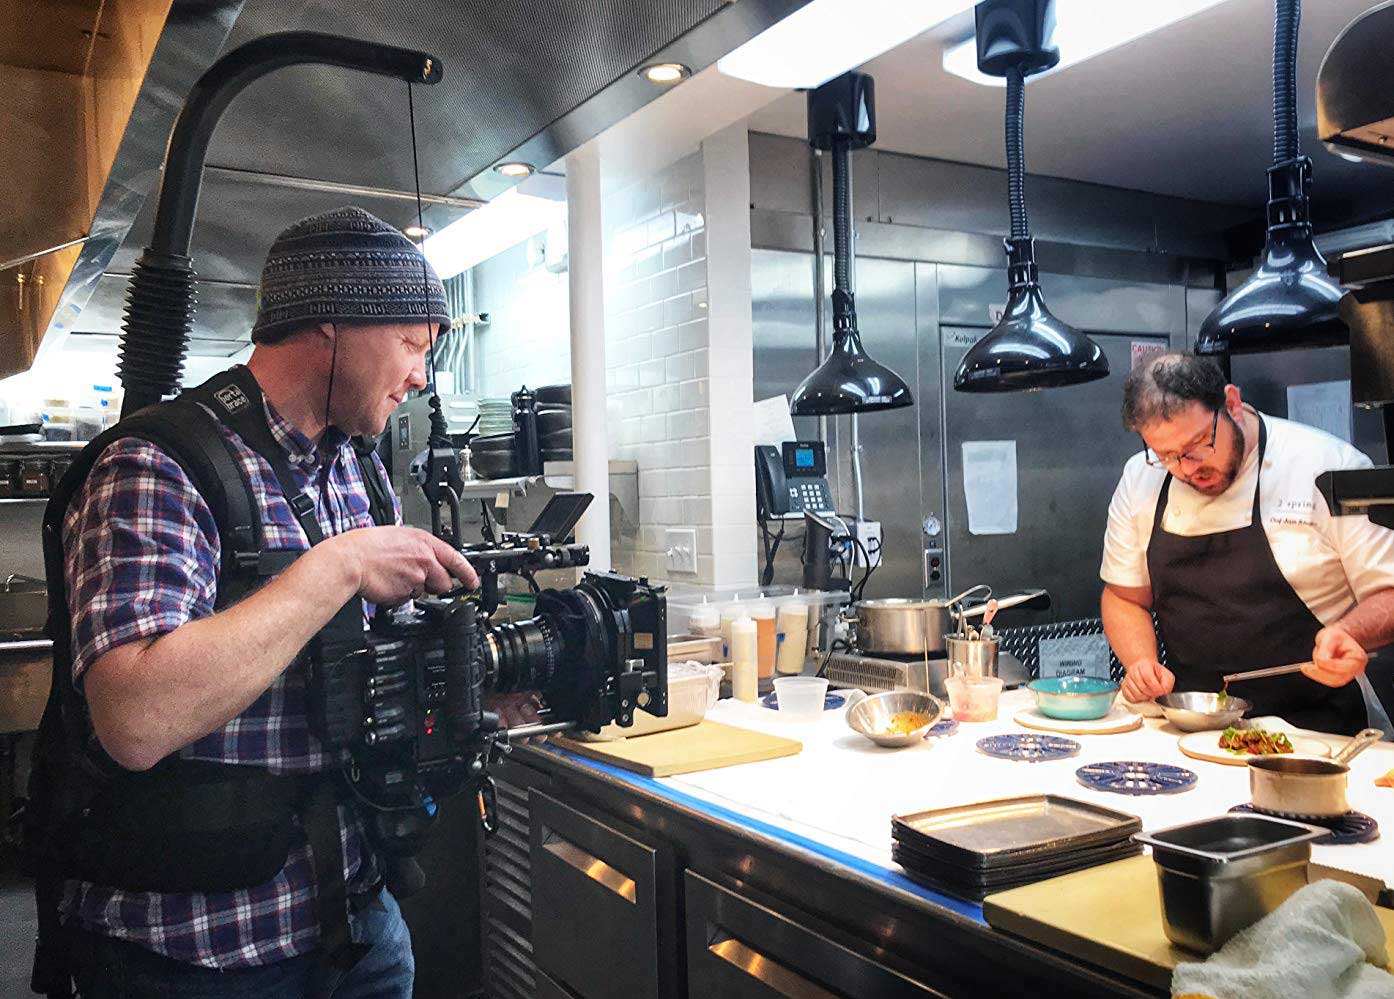
KONG Frog Cable Automatic Carabiner 
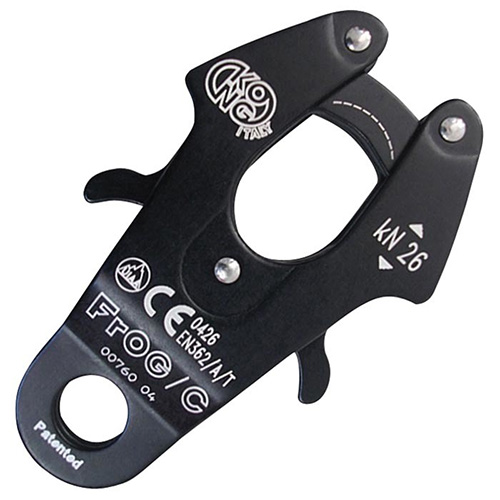
1/4″-20 hoist ring
I saw an operator who had modified his rig to fix these problem, and I chose to do the same. Adding a 1/4”-20 hoist ring to the top of my camera quickly helped reduce the cord tension build up while panning. I also chose to remove the factory clamp that is on the end of the cord and replace it with a KONG Frog Cable automatic closing carabiner.
I’m able to set the auto-carabiner to open before picking up the camera. Then grab my camera and quickly lock into the hoist ring. I also added a 1/4-20” eye bolt to the side of my camera, mounted in my Wooden Camera Pass-Through Top Plate for RED DSMC2, to serve as a backup in case the main system fails. No need to have my camera come crashing to the ground! The Easyrig comes with a safety strap that I clip to the bolt, just in case of failure.
A huge negative is the pressure it puts on your lower back. The weight of your camera pulls the vest at a downward angle, which puts pressure on your lower back. This tool doesn’t redistribute the weight to your hips as a back-pack would. It’s initially deceiving because of the belt strap and padding, which looks like a hiking back-pack setup.
I found that I had to learn to arch my back, stand upright and put my head up against the arm that holds the cord and shock. Then significantly tighten the vest as much as possible to help protect my lower back. This does help, but it is important to take breaks and get the weight off your body.
Overall, an incredible tool. It has a very specific look that can be exaggerated or very minimum. It allows me to work quickly and get the job done. However, take precautions while using it to protect your body.
You only have one back!